
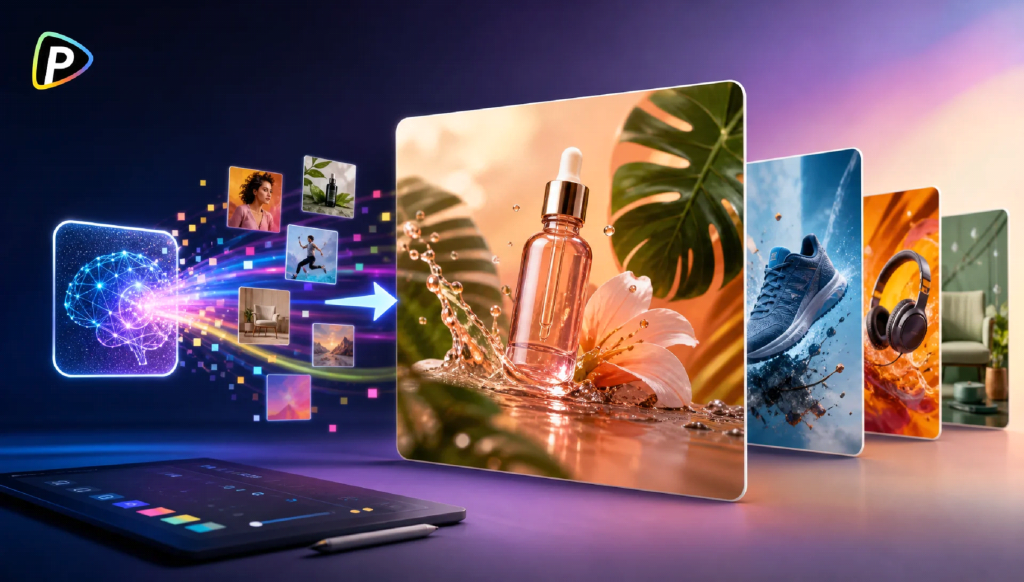
Creating an ad image is not just about making something look attractive. It needs to highlight the product, fit the platform where it will be published, and leave room for the advertising message.
This guide uses Pollo AI’s AI image generator as an example to show a practical workflow. The same principles apply to most AI image generators, but the examples below follow Pollo AI’s interface and features.
Before Using the AI Image Generator
A few minutes of planning can save a lot of time later.
First, decide where the image will be used. A square image is suitable for most social media feeds, while a vertical layout works better for Stories and other full-screen mobile ads. Website banners usually need a wide format.
Next, think about the product. Food, drinks, cosmetics, and electronics often look best in simple product-focused images. Clothing, travel services, and fitness products usually benefit from lifestyle scenes that show the product in use.
Finally, decide what the image should communicate. One clear message is almost always more effective than trying to promote several products or offers in the same design.
How to Create Ad Images with the AI Image Generator on Pollo AI
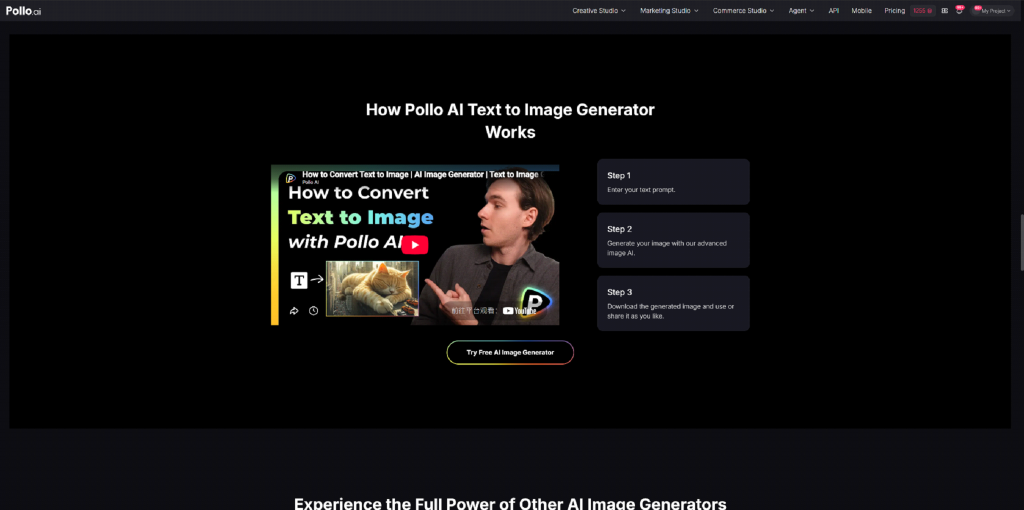
1. Open the AI Image Generator and Choose the Right Settings
Open Pollo AI and select AI Image Generator. Enter the text-to-image workflow, then choose an image model and an aspect ratio before generating.
It is worth choosing the correct size at the beginning instead of cropping later. Cropping often removes important parts of the product, especially in mobile ads.
If the campaign is for a product page or online store, a realistic image model is usually a good starting point. More artistic models can work well for seasonal campaigns, event posters, or social graphics, but they may not present products as accurately.
2. Write a Prompt That Describes the Whole Scene
Many beginners only describe the product. A better prompt also explains the background, lighting, composition, and where the advertising copy will go. The same principle applies whether someone is using Pollo AI or experimenting with a DeepAI video generator, since detailed prompts generally produce more predictable results.
For example:
A matte black wireless speaker on a modern wooden desk, soft natural daylight, realistic product photography, clean background, product positioned on the right, empty space on the left for a headline.
The prompt should also match the product category. Food advertisements often benefit from warm lighting and close-up details. Electronics usually look cleaner with a simple background. Fashion products often feel more natural when shown on a model instead of being displayed alone.
A common mistake is using words such as “beautiful” or “high quality” without describing the actual scene. The more specific the prompt, the more predictable the result.
3. Generate Several Versions Instead of Chasing One Perfect Image
The first image is rarely the best one.
Rather than rewriting the entire prompt, make one small adjustment at a time. If the product looks too small, ask for a closer view. If the background is distracting, remove unnecessary objects. If the lighting feels too dark, adjust only that part of the prompt.
It is also worth trying another image model while keeping the same prompt. Different models can produce noticeably different styles, and sometimes switching models gives a better result than rewriting everything.
4. Check the Details Before Downloading
Before downloading the image, zoom in and inspect it carefully.
AI-generated images may contain small mistakes such as distorted hands, incorrect packaging, unusual reflections, or product details that do not match the real item. These issues are easy to miss on a small preview but become obvious after publishing.
Another common problem is AI-generated text. Product names, prices, or slogans inside the image are often inaccurate. It is usually better to leave empty space in the design and add the headline and logo later using a design tool.
5. Test the Image Before Publishing
Place the image into the actual advertisement before deciding it is finished.
A layout that looks balanced on a large monitor may feel crowded on a mobile phone. Check that the product remains the main focus and that the headline is easy to read.
If the advertisement will appear on several platforms, generate separate versions instead of stretching or cropping one image for every placement.
Common Mistakes to Avoid
Many disappointing results come from a few common mistakes rather than the image generator itself.
Writing a very short prompt often produces generic images that do not resemble the real product. Trying to promote several products in one image can also make the advertisement confusing.
Another mistake is expecting AI to generate the finished advertisement. Image generators are generally better at creating the visual than adding readable text or accurate branding. Leaving space for the copy and finishing the layout in a design tool usually produces a cleaner result.
Finally, always compare the generated image with the real product before using it in a commercial campaign. Small differences in colour, packaging, or product shape can easily go unnoticed during generation.
Conclusion
An AI image generator can speed up the process of creating advertising visuals, but good results depend more on the workflow than the tool itself. By planning the layout, writing a detailed prompt, testing different versions, and checking the final image carefully, users can create ad images that are easier to adapt for websites, online stores, and social media campaigns.
TOP ALTERNATIVES
 NASA World Wind Free Download
 ImgBurn 2.5.8.0
 Braina Virtual Assistant for PC Free Download
 HC Security Hidden Camera 250×1 Free Download
 Download Line Messenger For PC
 Ant Download Manager 2.16.5.92283
 Free Ringtone Maker Portable 2.5.0.117
 WampServer Free Download
 DeskPins Latest Version Free Download
 TortoiseSVN Free Download